Sunday, 16 November 2014

Turbo Manifold #1

Removed the exhaust silencer and manifold, started work on the turbo install. Bought a kit from eBay for a diy hayabusa turbo manifold. Quality looks great with heavy duty flange and elbows.

First job was to tape the joints together and then to cut away half an inch or so to then tack weld in place. A friend dropped by with his welder and tacked a couple of the bends in to place. I then ground back one of the elbows to allow the flange to sit parallel with the body tub. 

Trial fitted the turbo and checked with the piper cross filter fitted, seems fine and doesn't foul the front wheel. Have the option to fit a 102mm elbow and fit the filter inside the tub. Will have the filter externally to start with and may modify later.

Now that the alignment is sorted, I will take the kit to a professional welder to get the remainder assembled and properly TIG welded.


Saturday, 8 November 2014

Aluminium Turbo Plenum

Spent some time designing and modelling a new plenum for my install. I wanted it to have a centre 3 inch inlet and integrated blow off valve. After quie a bit of cutting and adjusting I finally came up with a design that fits under my bonnet and that I am happy with.

I have seen some of the work completed by G19 Engineering and I must say that I have been impressed with the quality of their aluminium work. I called Doug to discuss and he will be bringing my cardboard box to life in aluminium. He is going to make a billet base with smooth radii to aid airflow, the inlet flanges will be turned to 54 mm diameter to exactly match the throttle bodies and maximise flow.


Saturday, 25 October 2014

Turbo Rebuild #7 - Top End Assembly

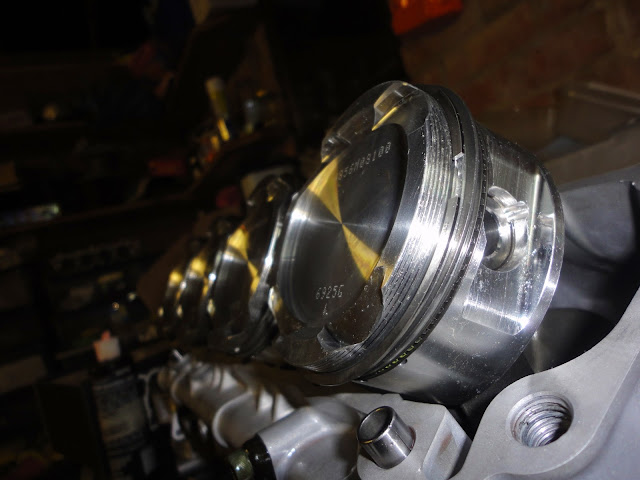
Fitted the pistons back in order and made sure that the arrow faced forwards. Adjusted the rings so that the gaps are in opposite directions on the piston. 

Fitted the new base gaskets and the aluminium spacer, the thickness of the spacer and gasket combined needed to be 1mm thicker than before to allow for the extra stroke on the gen 2 crank. I sandwiched the spacer plate in between the base gaskets, in taking this approach I do not need to bond the base plate. 

Lubricated the bores and piston sides with assembly oil. Rotated the crank so that Pistons 2 & 3 were raised, then lowered tha cylinder in to position and eased the rings in to place with a small screwdriver. Then repeated with Pistons 1 & 4 until they were in place. Rotated the crank by hand to ensure that everything rotates easily. 

Fitted a new head gasket and then positioned the head, lubricated the head studs with engine oil and tightened them down from the centre outwards. Torqued all of the bolts to 50NM then to 70NM and then finally to 100NM.


Saturday, 18 October 2014

Turbo Rebuild #6 - Billet Clutch Basket Install

Installed the clutch basket, fitted the Extreme Engines aluminium clutch spacer plate that sits behind the clutch centre. The spacer is designed to remove the ramp system and give a more positive feel to the clutch.

Next I fitted the clutch centre and a new centre nut. I then used a punch to bend the lip over to lock in to place. Added the clutch plates with the thick plates on the inside and outside, the steels with the curved edge facing inwards.