Wednesday 31 July 2013

Front Arches #2

Re fitted the front arches, marked the front edge on both to have a slash cut edge. Cut with the grinder cutting wheel and finished by hand with a sanding block.

Making some real progress now, need to start thinking about sorting out the IVA test.


Tuesday 30 July 2013

Side Bars

Fitted the side bars, drilled the chassis mounting holes through the tub. Drilled from the inside out using the hole in the chassis bracket as a guide. 

Bolted all in place and noticed on the passenger side that the tub had been pulled in to the chassis and caused the scuttle to be out by 5mm. I used two large repair washers to space out the tub and fitted them between he chassis and the fibreglass tub. Then bolted the side bars in to place and maintained good spacing of the body panels.


Handbrake Switch

Fitted the handbrake switch, wired one side to the chassis and the other to the signal wire to the dash. When the wire is grounded the handbrake activated lamp lights on the dash. 

Shortened the spring and connected to the handbrake lever.


Saturday 27 July 2013

Wheel Speed Sensor

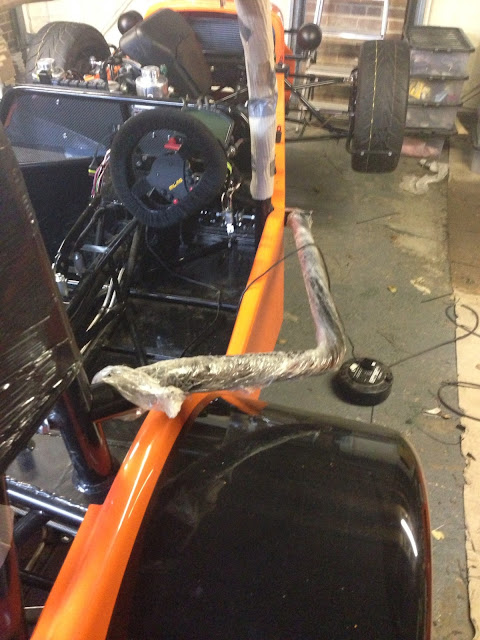
Checked with Race Technology and found that when I use the vehicle speed from the ECU via the CAN bus the speed is displayed on the dash but will not increment the odometer. As this is required for IVA I now need to fit a wheel speed sensor and wire it back to the dash. The proximity sensor has 3 wires 5v, ground and a signal wire. This type of sensor does not need a magnet and will operate when it is close to a bolt head or toothed wheel. Decided to fit the sensor on the back of the rear hub so that I could conceal the wiring. 

Needed to make a bracket to fit to the rear hub, made an initial template from card and then fabricated from a strip of aluminium. Fitted to the rear hub and then used the wheel studs for the signal. Adjusted the gap and tested. Once the sensor is powered up there is a red LED on the back that is lit and then switches off when it senses the stud.

Once wired into the dash I calculated how many pulses per mile to enter in to the config. 

The calculation is inches in a mile divided by wheel circumference in inches multiplied by pulses in one revolution of the wheel (4 studs).

Calc is : 63360 / 72 then multiplied by 4 = 3520


Rear Lights #2

Finished off fitting the rear lights and the number plate light. The number plate light is a small alloy LED unit bought from the Stoneleigh show. Used the dimensions for positioning from my previous post. Made sure that the reverse and fog lights are the same height as the side / brake lights.


Friday 26 July 2013

Front End Wiring

Tidied up the from end, made off some of the connections with sealed AMP Superseal connectors. Fitted new connectors to the headlights and radiator fan. Tie wrapped the loom in to place and secured any free cables. Fitted the nose cone.


Scuttle Panel Pedal-box Cover

Needed to make a cover for the Scuttle panel access hole to the pedal box, made the cover from a spare piece of carbon fibre. Didn't want to drill and Rivnut so have tried to use Velcro strips to hold in place. Seems to work fine.

Cut the carbon fibre with the grinder and then shaped by hand. 


Sunday 21 July 2013

Diff Breather Tube

Fitted a tube to the Differential breather, this should stop diff oil getting sprayed around the back end of the car on track. Attached a P clip to the chassis to hold in place.


Side Repeaters

Decided to fit the side repeaters to the rear arches, I have seen a few Caterhams with this and like the look, not really keen of fitting them to the front arches as don't want cables attached to the front wishbones. Looked at the IVA manual and I think that as long as they are fitted above 350mm from the ground then they should be fine.

I got some 20mm LED repeaters from Europa Spares and wired them in line with the rear indicators. I extended the cable and then fixed it to lip of the rear arch. To fix in place I used tie wraps and tie wrap base mounts. On the mounts I removed the sticky pad and used Tiger-seal to permanently fix in place.


Handbrake

Not happy with the method of fixing the handbrake cables to the handbrake mechanism by looping the cable through the bar and using cable clamps. I found that the clamps slipped and decided to find a better method.

I drilled out the bar to 8mm to accommodate two M8 bolts. I then drilled a 3.5mm hole part way down the thread of the M8 bolt to allow the cable to pass through, then I used a washer and a M8 nylock to clamp the cable to the bar. I then adjusted the cables so that the handbrake is not activated and the callipers are free to move. 


Rear Brake Bleeding

As the Sierra rear brake callipers are fitted inverted on the MNR, bleeding the brakes seems to be a bit of a pain. I disconnected the two mounting bolts and moved the calliper to the other side of the disc and held it temporarily in place with tie wraps. 

I then loosened the bleed nipple and bled in the same way as the fronts. Once complete I moved the calliper back and tightened the fixing bolts.


Front Brake Bleeding #2

Filled the reservoir with brake and clutch fluid, used Halfords DOT 5.1 high performance fluid. Have friends that use it on hill climb in thir Westfields without problems, so though I'd give it a try. Can always try something different if it overheats, but have a suspicion that there will be little chance of boiling due to the light weight of the car.

Got a bleeding kit from eBay which worked a treat, just connected the tube to the open bleed valve and then pumped the pedal until clear fluid flowed and then closed the bleed nipple. On the Willwood callipers I bled the inside and then the outside.